
Hi guys.
Whew! What a weekend, hope you all had a great Easter!
Today I am going to show you a great idea I saw over at The Twice Remembered Cottage . It's a magnetic scrabble board!

I know, I know. I am a little late on the chevron train, but I don't care. I have been waiting for the right decor item to use it with. I thought that this would be an ideal use of it.
I didn't get any pictures of the sheet metal being cut because the hubby did it while I was at work, but you can use tin snips. It took a bit for him to cut it with the tin snips, and a little more time to straighten it back out. He cut it to fit the frame at 24x30.
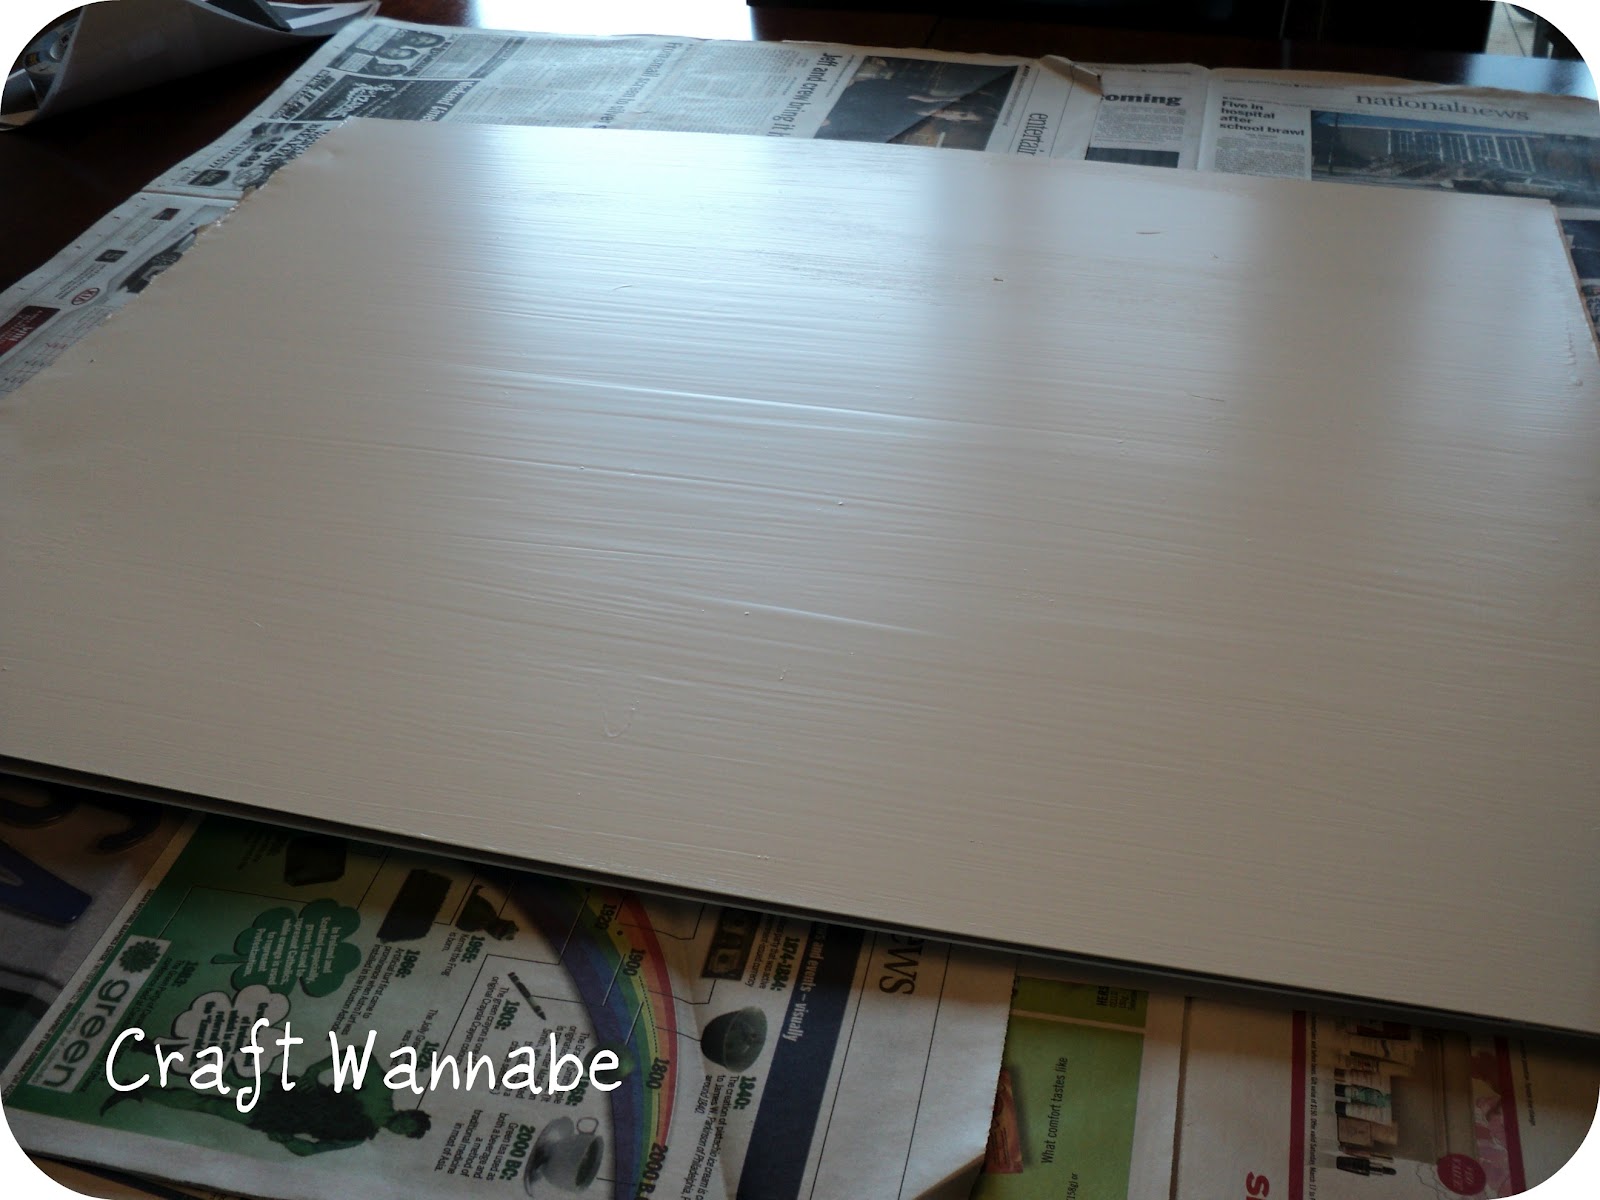
After that, I primed and painted the sheet metal with 2 coats of white primer and paint in one. So really, that's like four coats? Wow I was a super painter that day ;)
After the paint was dry, I printed a chevron template out and got to work. This took some time, but it was worth it. Though after I finished all the taping, I did notice that I was slightly off. I did not care at this point, as Sarah says -" If anyone notices it, they get a cookie".
Then I started painting the stripes with the same colour the basement stairs, Shitaki by behr. It is just a subtle difference to the white - didn't want to go too crazy! It actually looks really dramatic in this picture, but on the wall it is nice and subtle.
Not too bad, right? Be gentle, it's my first chevron. See the bottom left - that's where it went wonky. But I am happy with it.
While all of this was going on, I was working on the gorgeous frame I picked up at Goodwill for $6.99. Please ignore the finish, I saw the potential. It's faux marble - no really.

After about 2 hours of sanding by both myself and the hubby, we finally got the frame to the bare wood. One the ugly fake marble finish was off, the true frame shone brightly. This was when the hubby finally understood why I grabbed the "ugly" frame.

Once fully sanded, I wiped the frame down with a wet towel to get the surface ready for staining. I have no idea what the stain colour is because the label came off of my stain, but I am pretty sure it is walnut by Miniwax.

This picture is after one coat. After 3 coats of stain and a very long long wait for it to fully dry, I did 3 coats of poly. Then I waited some more.
I found a scrabble game at Goodwill for $1.99 - I brought it home and glued magnets to the back of the tiles. This step was actually done about 6 weeks before I brought home the frame. I was excited about finding the scrabble game and was waiting for THE frame. You know how it is!
Anyway, so no pictures of that step. But if you really need one, head over to The Twice Remembered Cottage for her tutorial. Gluing magnets to the tiles included.
Now, the finished product.
See how great the scrabble tiles play off the accent paint? Love it!
And on the wall.

I chose to put it on the wall leading to the bathroom for a few reasons:
1
- When people come over, they use the bathroom! This way, guests can
add words that we will find later on and laugh about. Plus, it's a
conversation started.
2
- You see it front the living room, and as soon as you head upstairs it
is the focal point. It took a wall that I had no idea what to do with,
and made it useful.
3 - Who doesn't like to find little love notes when you wake up at 6am to use the facilities. It's pretty darn sweet.
I have to say I am very happy with this project. I give it 2 thumbs up and recommend people to give it a try.
The cost breakdown - little more expensive as I had to go to a specialty shop to get the metal:
Sheet metal - $34.99
Scrabble Tiles - $1.99
Frame - $6.99
Magnets - $6.00
Glue - $0 (already had)
Paint - $0 (already had)
Grand Total - $49.97
Not bad - great focal point and a huge scrabble game.
So.....scrabble anyone?
K.
Linking to:
Adorable! Just pinned on Pintrest!
ReplyDeleteThank you!! Now I know what I'm going to do on the hallway wall!!